Here at My Pre-K Box, we are all about using PLAY to help your child learn! Research proves that your preschooler learns best through hands-on, FUN, play-based learning. We use current research and our teaching expertise to bring your child the most fun preschool learning available to your front door each month! My Pre-K Box is an educational subscription box for preschoolers aged 3-5! We provide you with everything you need to laugh, create, play, and learn together!
My Pre-K Box: No prep learning kits for kids!
Love the ideas shared here but find yourself spending more time looking at cute activities to do with your preschooler rather than actually doing the activities with your preschooler? We developed no prep learning kits for a busy parent like you! With My Pre-K Box, each month we mail your preschooler a learning kit with a fresh new theme! The package is packed full of fun, hands-on, play-based learning that preschoolers LOVE to do! You'll love how fun and easy it is!
There is no sweeter sound to your child than their name—except, perhaps when their name is followed by a command like “It's time for your nap” or “It’s time to clean up.” Your child’s name is exciting and personal to them, which makes name recognition and learning to write their name important first steps in literacy!
When is your child is ready to write their name?
Before a child can attempt to write their name, their fine and gross motor skills must be developed. Gross motor skills allow kids to do things that involve using the large muscles in the torso, arms, and legs to complete whole-body movements. Think climbing, jumping, or throwing a ball. As a child’s gross motor skills improve through play and daily activities, their fine motor skills also start to strengthen. These are the smaller movements that require more precision and dexterity, such as drawing, building with Legos, and buttoning a coat. You will know your child is ready to start learning how to write their name when their fine motor skills are distinct.
At what age should a child be able to write their name?
There is no set age at which a child should confidently know how to write their name. But telling a parent not to worry about it would be futile—worrying is what we do best! Between the ages of 2 and 4, scribbles and lines that unintentionally mimic letters may start to pop up in your child’s drawings. They may even attempt to write letters, names, and words they are accustomed to seeing, such as their name, cereal brand, or a character from a favorite book. Albeit, these will very likely still look like scribbles.
Around age 4 (sometimes earlier, sometimes later) is when most children exemplify that they have the interest and fine motor skills necessary to learn to write their name.
Name teaching no-no's!
It is natural to want your child to excel academically and meet certain milestones, but at this age, play remains the most powerful learning tool. Too often, parents resort to the “practice, practice, practice” mentality with worksheets that they remember from elementary school, but this will frustrate both you and your child in the long run. Keep it lighthearted and fun by incorporating name recognition and writing into games and crafts.
Parents might also be tempted to prompt a child to write their name before their fine motor skills are developed. Early is not always better. If your child does not yet display prominent fine motor skills, switch gears and work on those instead. Drawing with sidewalk chalk and stringing beads are fun and effective ways to flex those muscles.
Tips for helping your child form letters
-
Start with forming capital letters for the entire name. This will be much easier for your little one to master since they require simpler lines.
-
Exemplify the correct way to form letters using simple instructions. For example, you start writing a letter at the top and move to the bottom.
-
Remember, it is common for letters to be reversed or out of order, initially. Gently model the correct formation while continuing to encourage their progress.
How can I keep them focused on practicing?
Keep it fun! Tracing letters on a sheet of paper might hold your child’s interest for a few moments at best. Incorporating learning into play will lay the foundation they need to understand the letters that form their name and, eventually, write them. As with any new skill, repetition is key, but it should not be boring. When your child is enjoying the activity, they will be more likely to remember the letters they were playing with.
How to teach your child to write their name
There are 3 key stages to helping your child learn to write their name and plenty of creative ways to practice. Use the 7 activities below as a starting point for your child’s journey into writing.
Step 1: Name recognition
Before your child can physically write their name, they should be able to correctly identify it. Help your child recognize their written name with these fun activities!
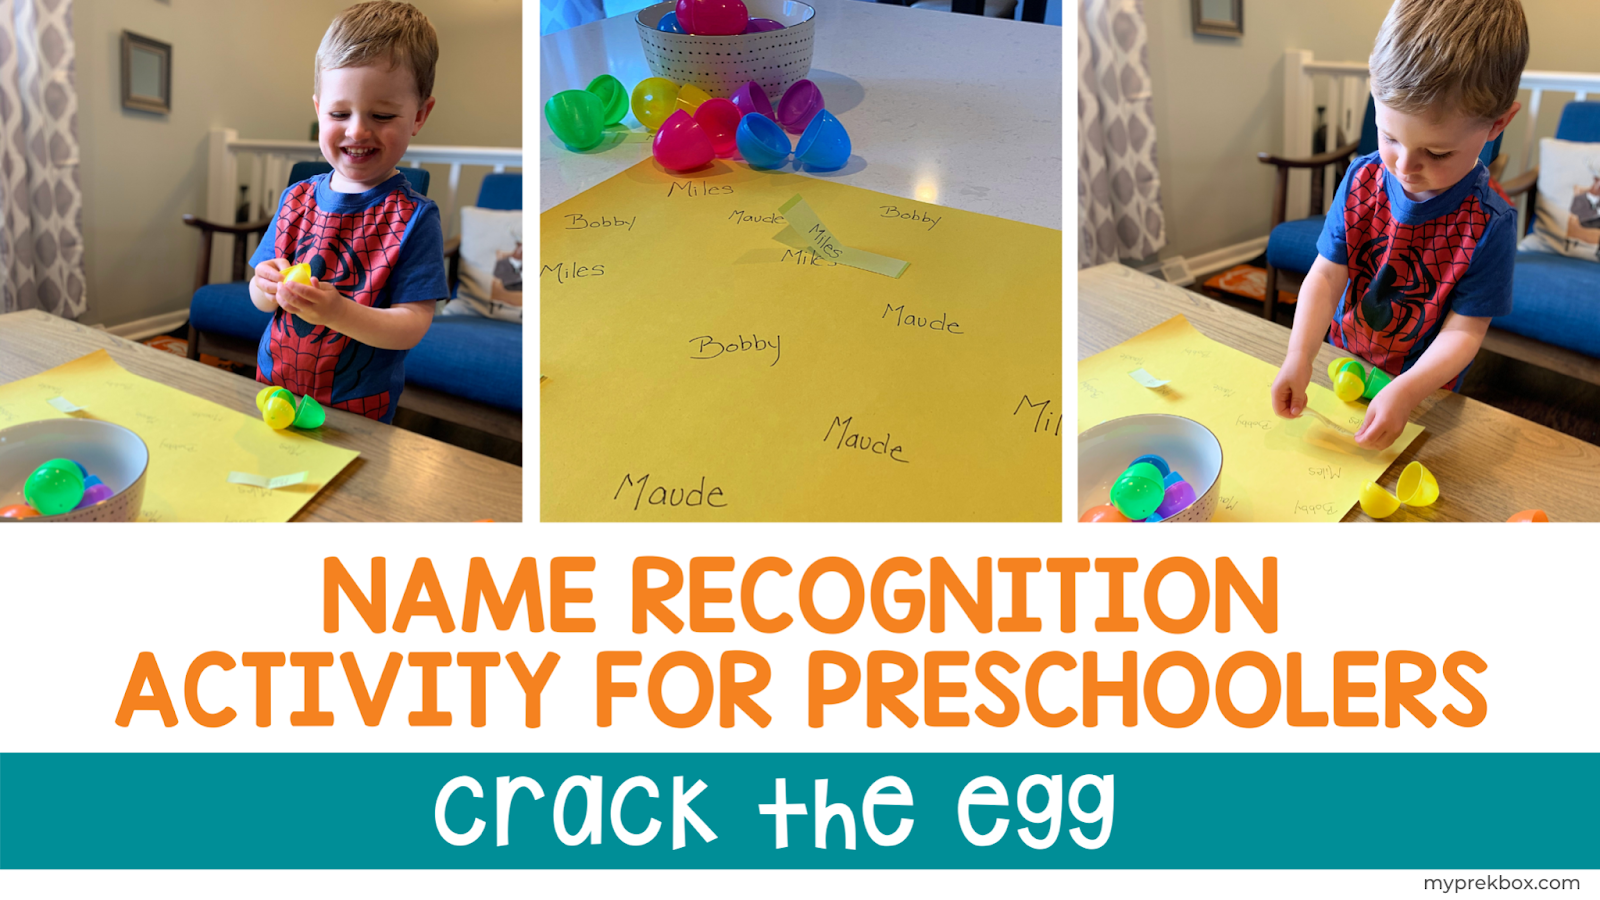
Crack the eggIt is time to bust out the plastic eggs that are usually reserved for Easter baskets. This interactive game will work on your child’s fine motor skills and enhance name recognition.
Supplies needed:
Crack the Egg Directions:
|
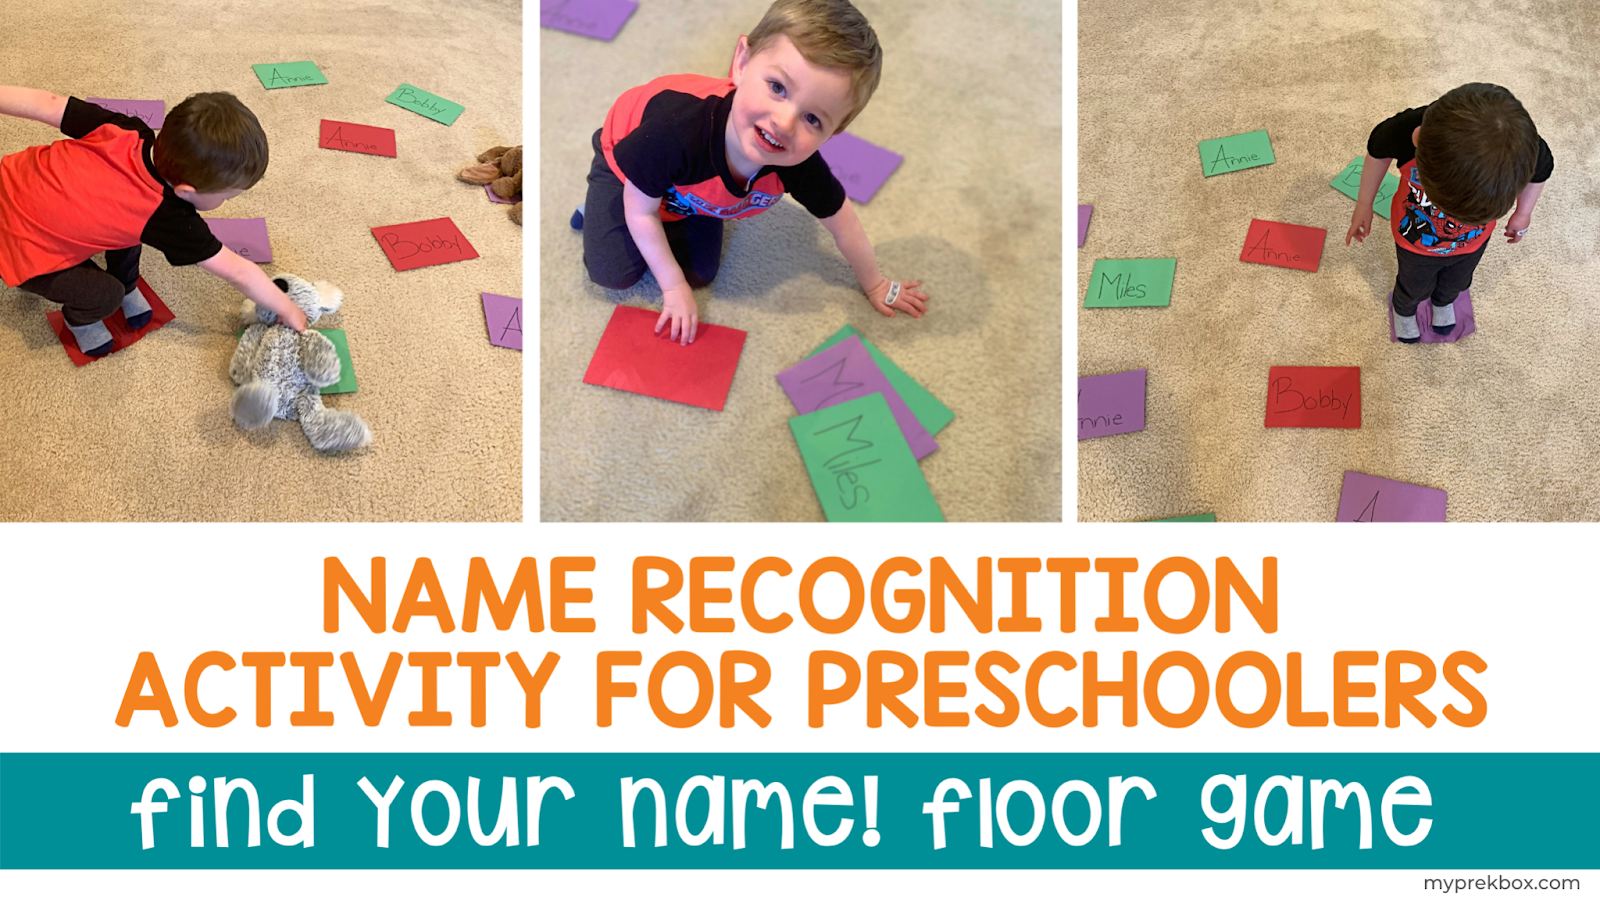
Find your name! Floor gameThis will get your child moving while also helping them learn to spot their name among other words.
Supplies needed:
Find Your Name! Floor Game Directions:
|
 |
|
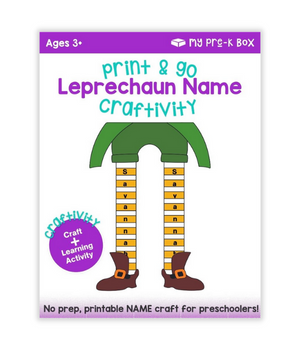
Wait up... Here's our welcome gift! Aside from play-based name-writing activities, you can also try some crafts! Check out the Print & Go Leprechaun Name Craftivity to integrate name writing into fun crafts! Take a look at the blog post about this printable template, or get your copy now while it's free!
|
 |
Step 2: Spelling
Once your child can recognize their name, the next step is to identify the individual letters and their order. By putting the letters together in the correct order, your child is learning how to spell their name!
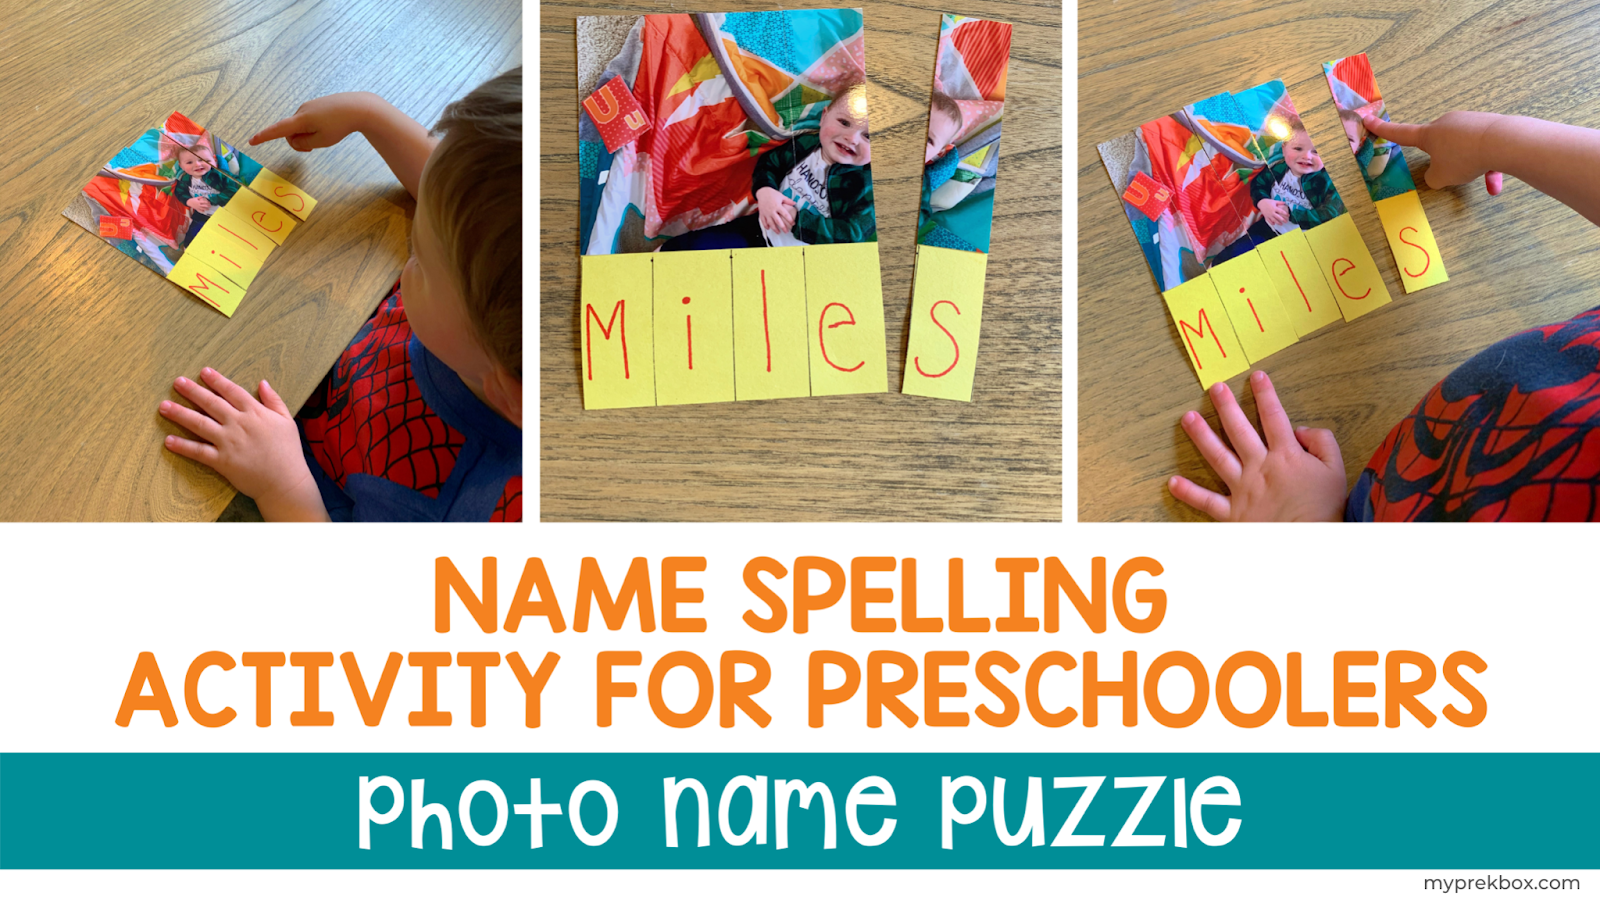
Photo name puzzleCreate a personalized puzzle using a photo of your child to help them identify the correct order of their name.
Supplies needed:
Photo Name Puzzle Directions:
|
 |
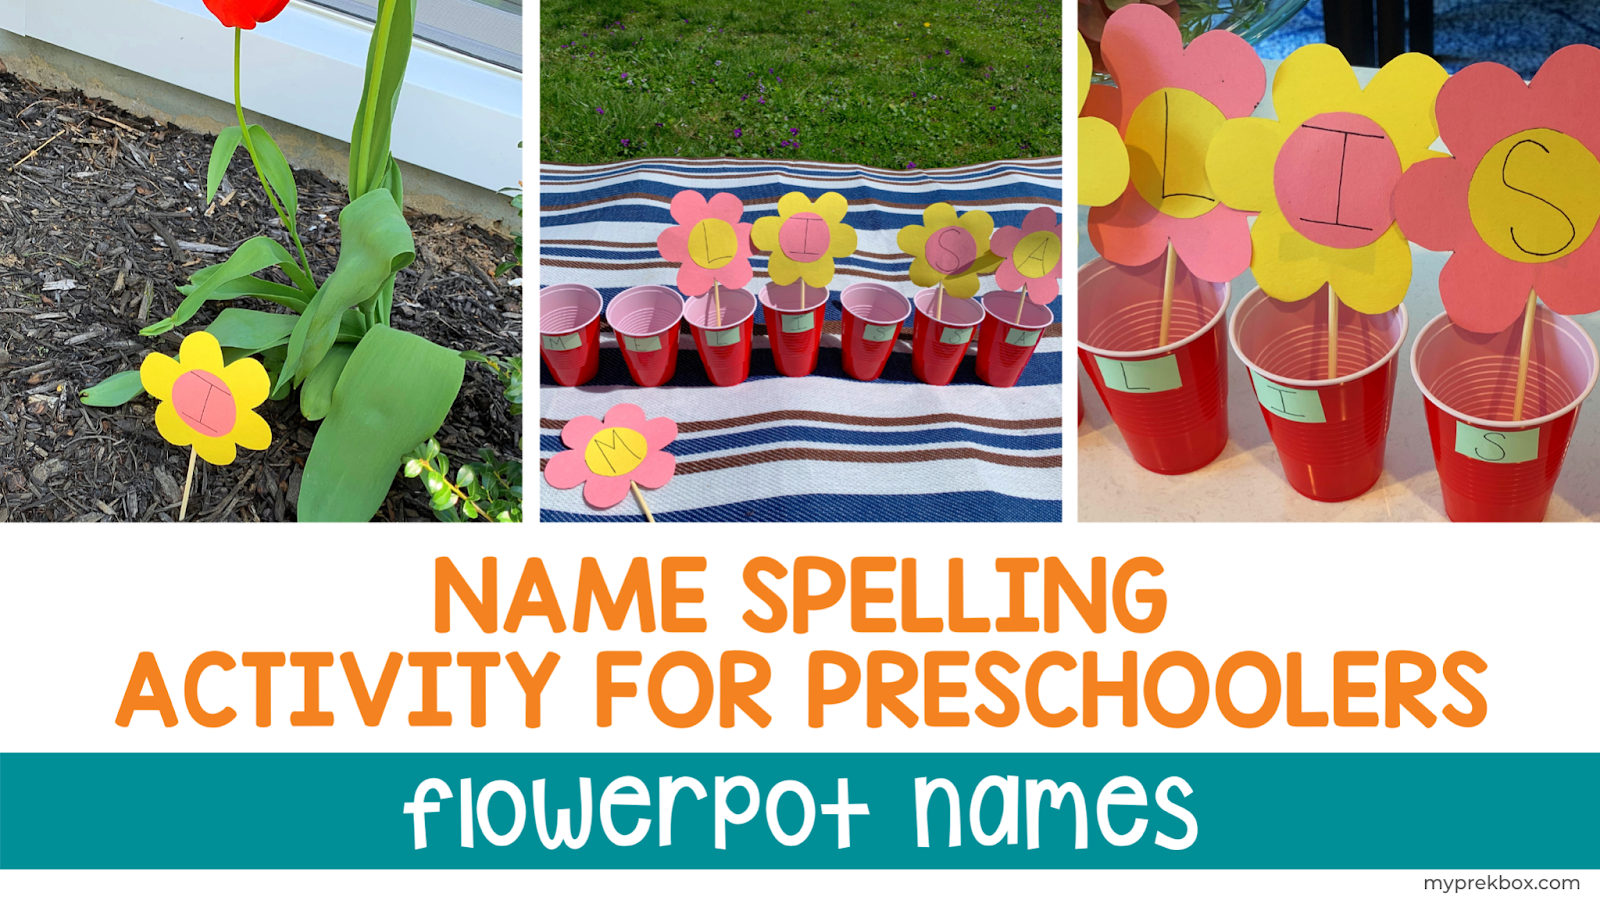
Flowerpot namesTry this simple and adorable way to turn your child’s name into a scavenger hunt.
Supplies needed:
Flowerpot Names Directions:
|
 |
|
Magnet name game
Supplies needed:
Magnet Name Directions:
|
 |

|
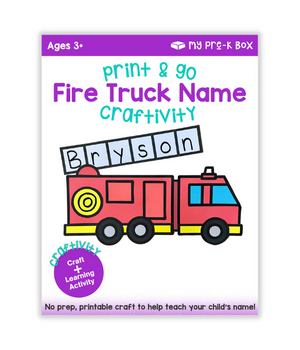
Before you go... Here is another freebie! Your little firefighter will surely be delighted with the Print & Go Fire Truck Name Craftivity! It is a craft and activity in one, with a name writing activity integrated into the craft! Learn more about it here, or download a copy now!
|
 |
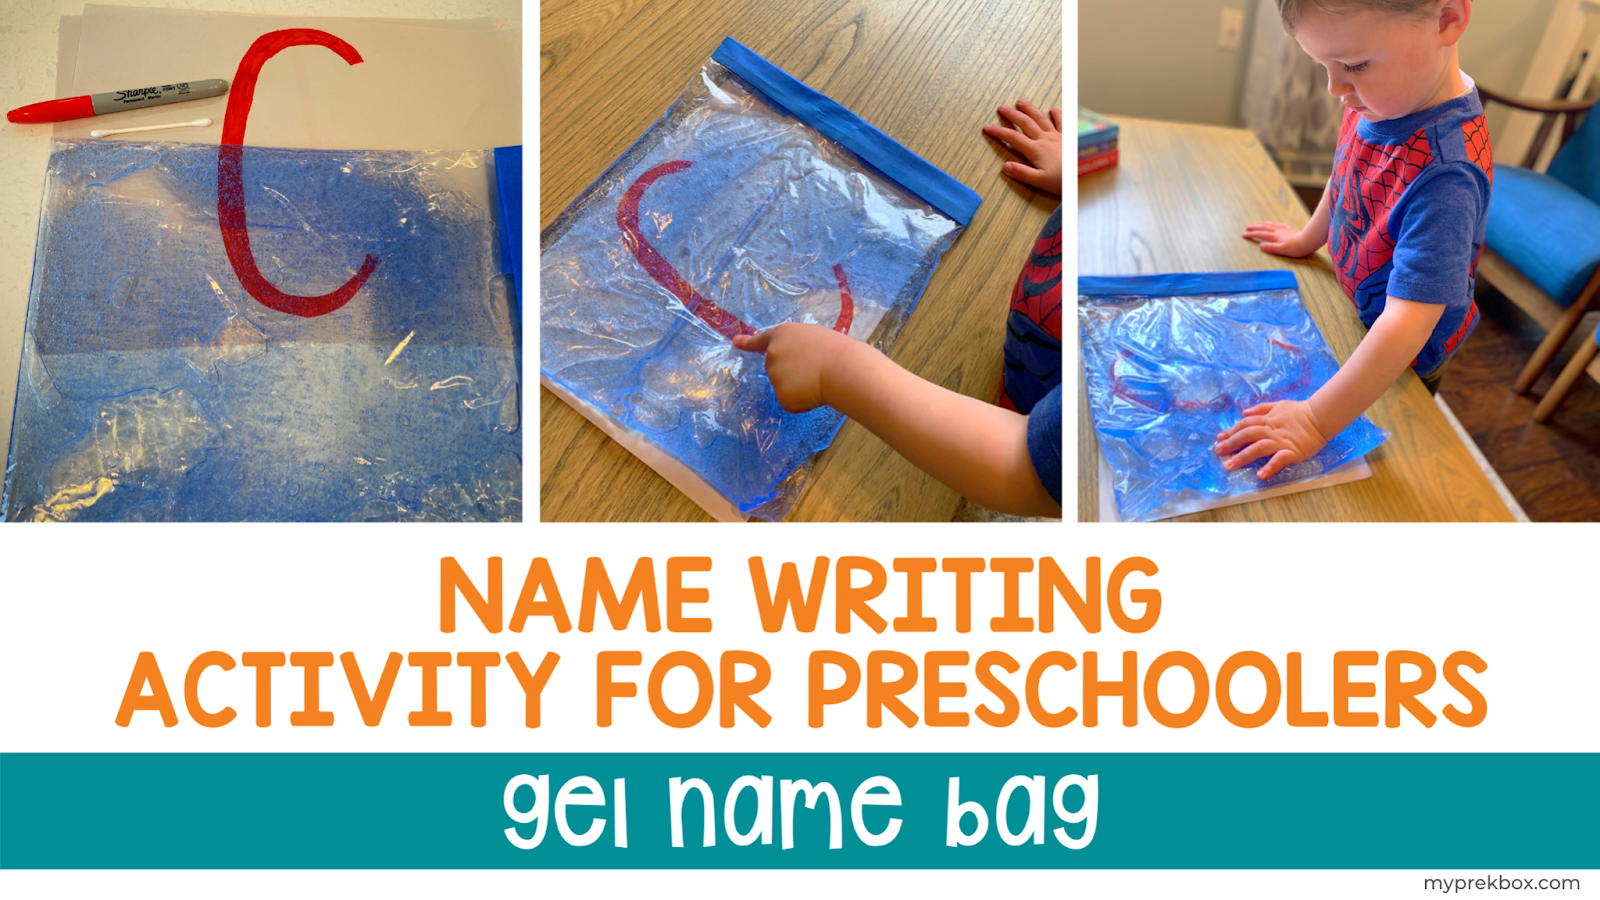
Step 3: Writing their name
It is time for the grand finale: Teaching your child to write their name! But don’t reach for the tracing paper just yet—this step should also be fun and full of opportunities for play.
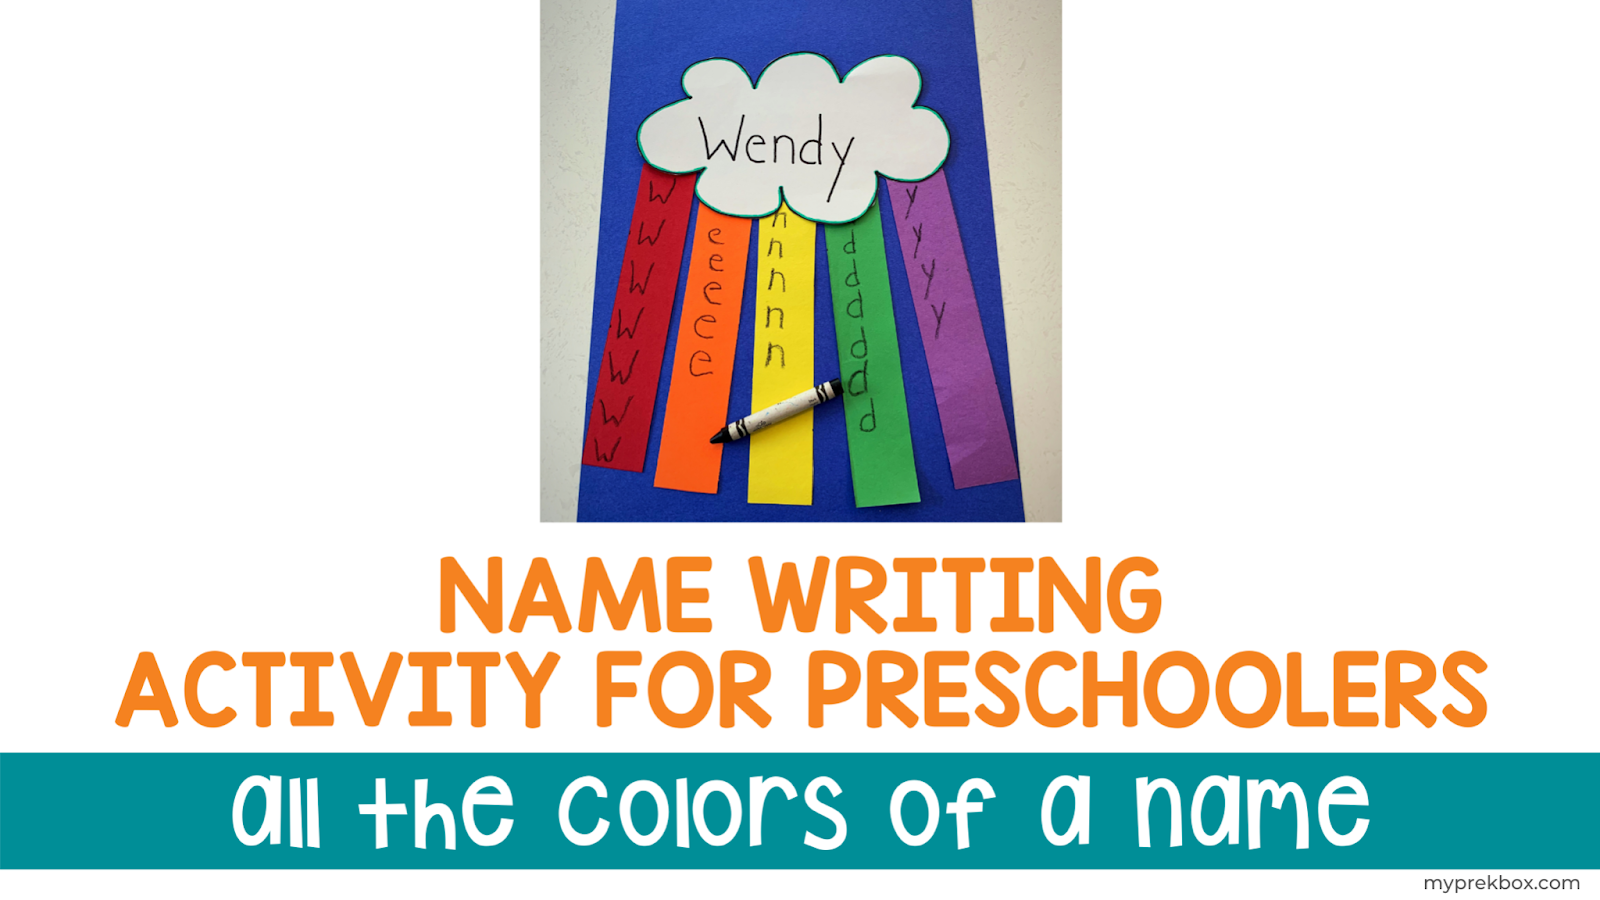
All the colors of a name
|
|

Gel name bagThis is a sensory activity that doubles as writing practice. Your kiddo will love helping to create this, too!
Supplies needed:
Gel Name Bag Directions:
|

Learning through playing
Above all else, remember that helping to teach your child to write their name should be PLAYFUL and enjoyable! When we have fun doing something, we want to do it more often! Those fond memories of playing with mommy will help teach your child that learning is FUN, which is a critical part of being ready for school!
Play-based activities in My Pre-K Boxes
If your little one enjoyed these activities, he will surely love all the play-based activities and games from My Pre-K Box! Our boxes are filled with fun crafts and lots of exciting hands-on activities! Each month features a new theme, which lots of kids look forward to. You can get one by subscribing to My Pre-K Box - the best subscription box for preschoolers! Our hands-on learning tools are play-based, targeting math and literacy skills. It also includes sensory play, fun thematic crafts, and a grownup guide.
The games and activities in My Pre-K Boxes are made with love and guaranteed to be of top quality. It is also kid-and-adult-friendly, very practical, and reusable! If your child has siblings, it can be shared and can be used again and again! We also offer duplicates of the crafts, since these are mostly not reusable. You can get a duplicate for his/her siblings for only $3.25 a month! Craft lovers can also subscribe to our Craft Lovers Upgrade, which comes with more fun crafts and two additional arts and crafts activities for just $4.25 per child.
With all the fun and exciting activities inside My Pre-K Box, your child won’t even notice he’s learning a lot! And as parents, we wouldn't have to worry about the hassle of researching, planning, and making the activities! We can simply guide and watch them learn in the convenience of our home - with the help of My Pre-K Box!
Let's Connect!
We love, love, love seeing your little ones in action! Post your photos on your social media account and use the hashtag #myprekbox so we can see which name learning activity you're doing! And be sure to follow us on Facebook and Instagram for more fun and easy activities to do with your preschooler at home!
Want to try My Pre-K Box?
 |
My Pre-K Box is the best subscription box for kids 3-5 years of age!
Everything you need to play, create, explore, learn, laugh, and enjoy!
|